Post by tjmotter on Nov 19, 2020 22:03:36 GMT -5
On the 705, I recall reading about an issue with the firmware that caused bang noise. These suckers are a little strange because they don't have an ethernet or USB port so the firmware update consists of burning a CD with a special Onkyo image, connecting an optical port up to a CD player and then pressing a key combination to start the firmware update and finally, hitting the "play" button on the CD player. Essentially, it uses the digital element of the optical to stream the data from the CD to the receiver. I have never done it but there are some posts out there that describe it. I may have a copy of the files around somewhere.
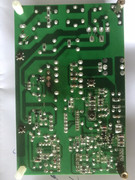
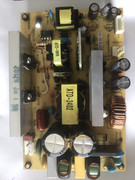
With respect to a reflow, I mask everything off with Kapton tape first. Next, I cut a piece of tin foil to fit the area and cut out a section in the center that is larger than the chip. I then tape the tin foil on top of the original layer of kapton tape to seal the tin foil. This contains the heat to just the area you are working on and keeps parts from moving around once the solder goes molten.
with this protection in place, I squeeze some no-clean flux around the outside edges of the DSP. I then place the board on my board warmer and bring the bottom side temperature up to about 90-100 degrees celsius using an oven thermometer/probe to monitor the temp on the bottom. Once heated up (a couple of minutes), I set the heat wand on my soldering station to 435 degrees and heat the chip for about 90-120 seconds. The newer boards seem to flow at about 90 seconds but it can take up to 2 minutes (120 seconds) for an older board like yours to flow. At all times, I keep my eye (and set a temperature alarm) on the oven probe that is tracking the temp on the bottom. I set the alarm for 160 degrees and if it gets to this temp, I immediately shut all the heat down. Solder will start to melt at about 180 degrees and the last thing you want is to have parts falling off the bottom.
HTH
Todd


