|
|
Post by mastertech on Feb 26, 2014 20:37:34 GMT -5
Well it is always worth spending money when you are learning something you enjoy.  |
|
nashou
Unmoderated Off Topic
Tech in Training.....
Posts: 1,239 
|
Post by nashou on Feb 27, 2014 21:05:41 GMT -5
Pulled one Dual Diode and it is not that. So It looks like it is just the IPM's. I'll order two of those from china to save money since i bought these diodes I will not need now. They are remanufactured but Hopefully they'll work ok.
Nashou
|
|
nashou
Unmoderated Off Topic
Tech in Training.....
Posts: 1,239 
|
Post by nashou on Mar 14, 2014 20:34:19 GMT -5
Ok removed the first IPM but I ended up pulling a round trace pad next to the left most though hole. I can not tell if it connects to anything. 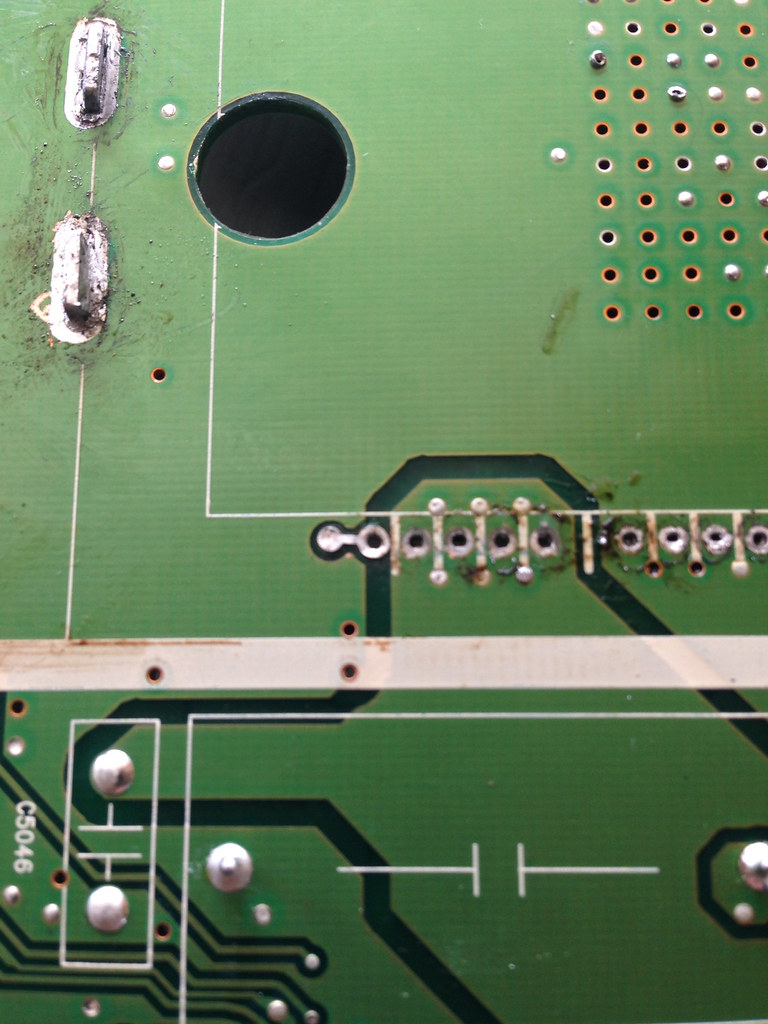 Wish I had schematics for this beast. |
|
|
|
Post by mastertech on Mar 15, 2014 9:35:08 GMT -5
What's on the other side of the damaged through hole?
|
|
nashou
Unmoderated Off Topic
Tech in Training.....
Posts: 1,239 
|
Post by nashou on Mar 15, 2014 9:52:52 GMT -5
What's on the other side of the damaged through hole? Nothing, looks like a gnd plane but i dont think it goes all the way through. I'll check better when i get home later today. |
|
|
|
Post by mastertech on Mar 15, 2014 12:48:04 GMT -5
If you are talking about the 2nd through 5th holes which are on that same trace then they should all be tied together. Hard so see which contact is damaged in the picture.
|
|
nashou
Unmoderated Off Topic
Tech in Training.....
Posts: 1,239 
|
Post by nashou on Mar 15, 2014 14:39:03 GMT -5
No it is the Solid circle connected to the first through hole on the left of the 5 through holes
•-o
it looks like what i typed above.
Nashou
|
|
|
|
Post by justgreg on Mar 16, 2014 0:32:36 GMT -5
I remember doing mine and like most things done for the first time I learned better ways after I was already commited to doing it one way.
Super heating with an industrial heat gun is the best way to approach these IPM's because the board is pretty thick...something like .055" IIRC. It can take a lot of heat. An electric desoldering vac sucker makes it even easier but a spring loaded sucker works ok too. Don't waste the time or money for wick...doesn't work well at all.
It was a bear to replace but I wouldn't mind tackling a similar repair again just to use what I learned from hindsight. You've achieved good clean solder removal so far though.
While you have it all apart you might want to source 12vdc fans to mount on the heatsinks. Just make sure the cabinet cover will fit over whatever ones you settle on.
I wouldn't worry about the eyelet. It's still there and connected. It should solder up fine. It's gonna take a high wattage soldering iron to flow through that thick PCB too. Too low wattage and it'll take longer to get a good joint and will end up sending more heat to the delicate internals of the IPM. (You knew all this I know but thought I'd just include things for those who've never worked with something like this).
|
|
|
|
Post by justgreg on Mar 16, 2014 10:19:19 GMT -5
Hey Nash I forgot to ask and cam't remember if you already said what your repair plan is bit...are you going to replace both IPM's?
|
|
nashou
Unmoderated Off Topic
Tech in Training.....
Posts: 1,239 
|
Post by nashou on Mar 16, 2014 14:30:04 GMT -5
Hey Nash I forgot to ask and cam't remember if you already said what your repair plan is bit...are you going to replace both IPM's? Yes both on that board are bad. I never checked the other Sustain board but when I had it connected I had no errors when the other was disconnected so i assume its ok for now. Nashou |
|
nashou
Unmoderated Off Topic
Tech in Training.....
Posts: 1,239 
|
Post by nashou on Mar 16, 2014 16:26:21 GMT -5
Ok here is a close up of the spot, I lifted the pad so you can see what is under it, it looks like nothing is there. 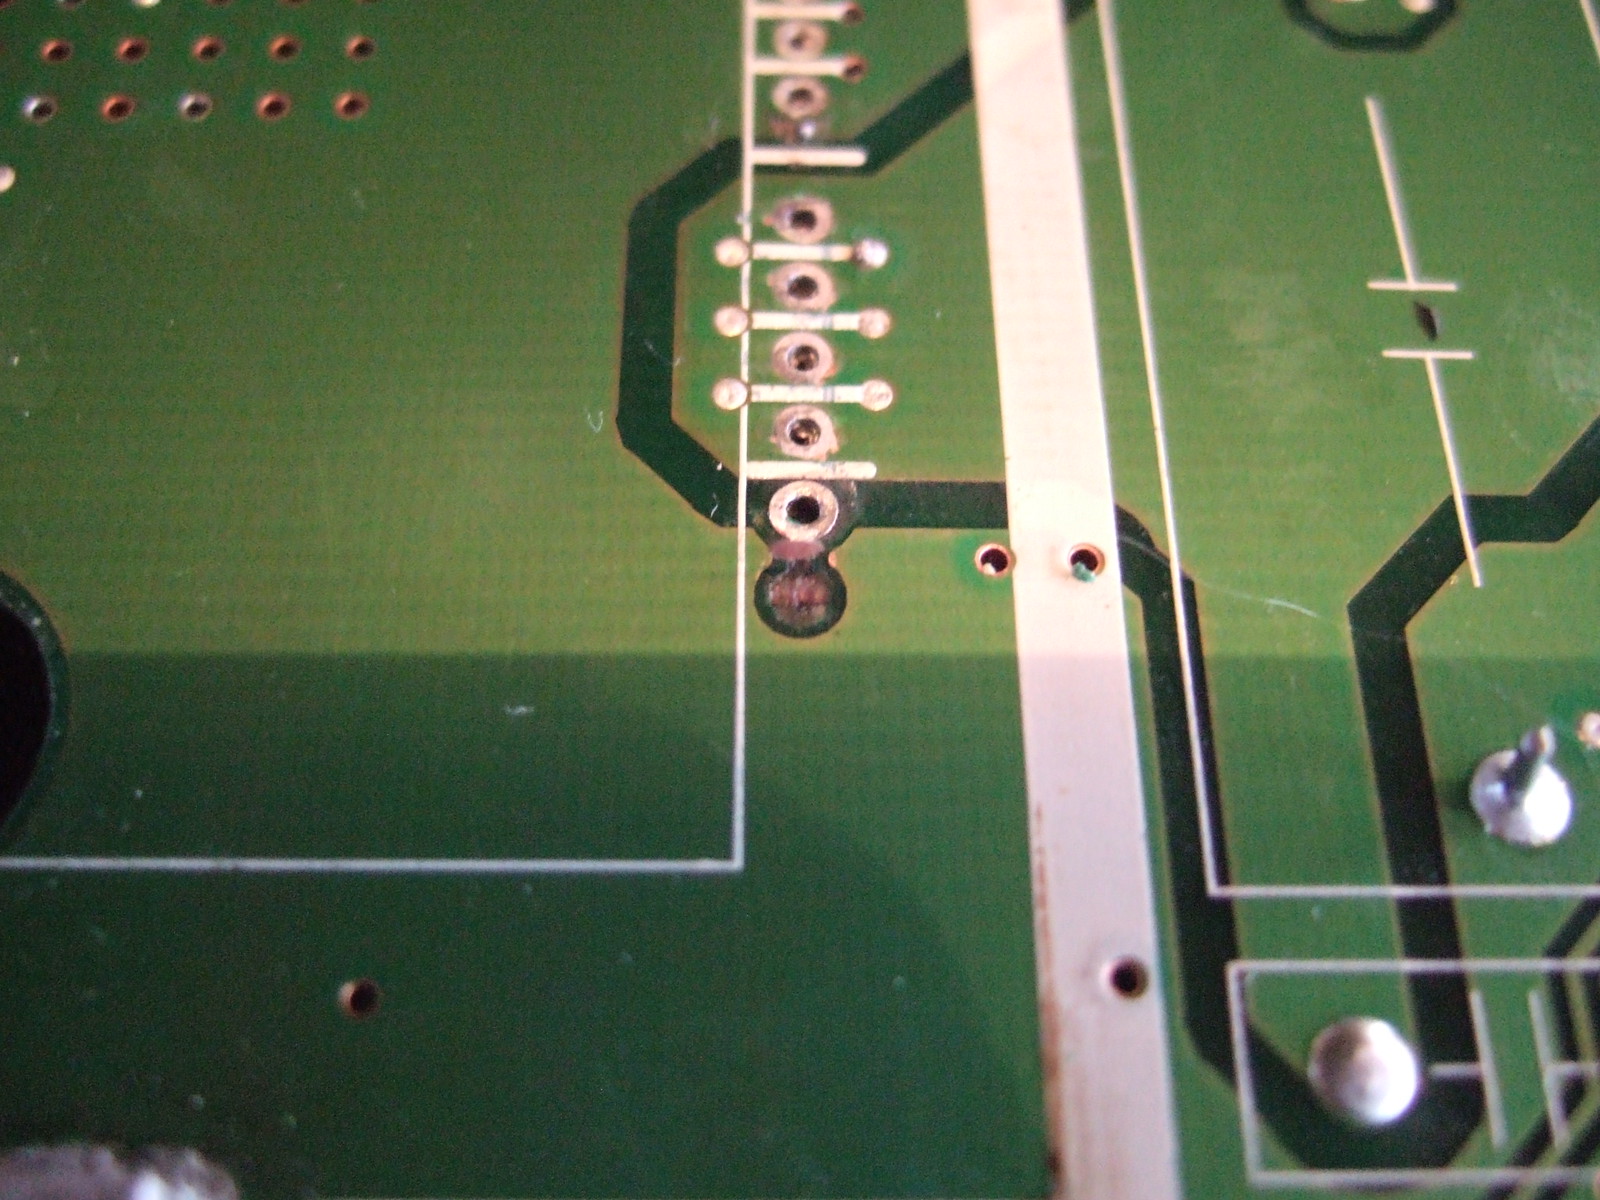 |
|
nashou
Unmoderated Off Topic
Tech in Training.....
Posts: 1,239 
|
Post by nashou on Mar 16, 2014 16:30:02 GMT -5
Also touching under the pad with my DMM to any point on the board shows no continuity . Aslo the trough hole the pin on the chip goes into has no connection I can see on wither side. Just might be a
NC pin.
Nashou
|
|
|
|
Post by mastertech on Mar 16, 2014 17:16:30 GMT -5
I agree.
|
|
nashou
Unmoderated Off Topic
Tech in Training.....
Posts: 1,239 
|
Post by nashou on Mar 16, 2014 18:36:53 GMT -5
Both IPM's off. Now the diodes test ok I think. So i'll have to put the one back in. I also had a bitch of A time removing the heat sink hold downs. I decided to just pry one side out and slide it off the other side. I'll try to put it back in but I doubt i'll get the sides I pried out. So I may have to just leave it as is. 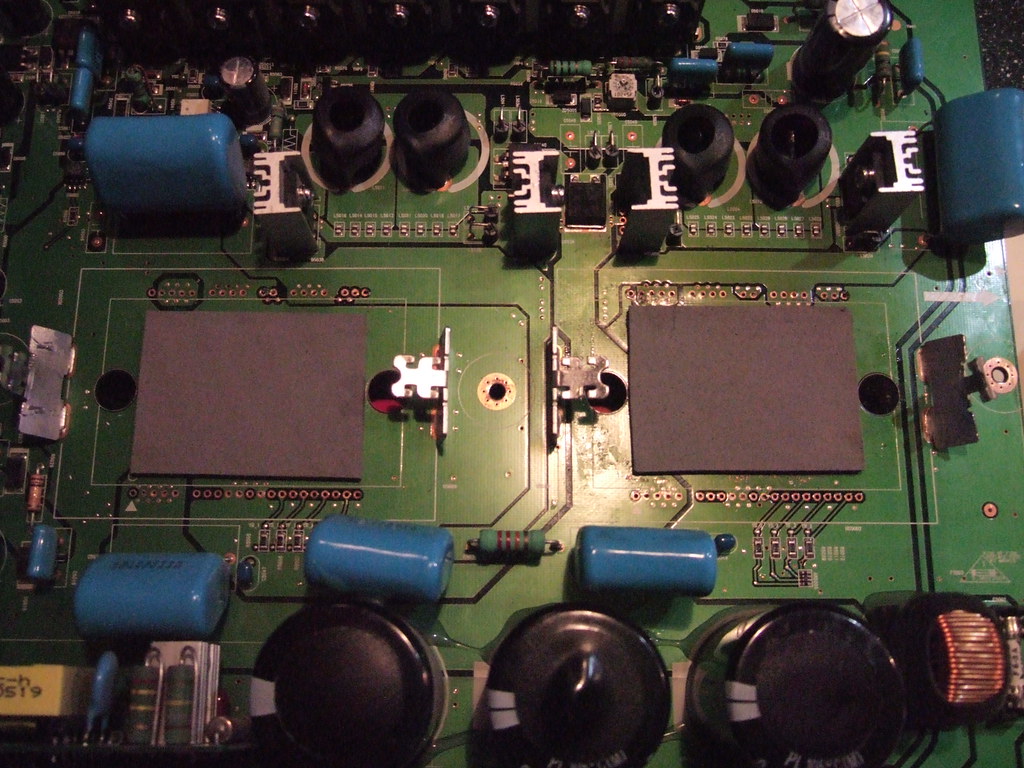 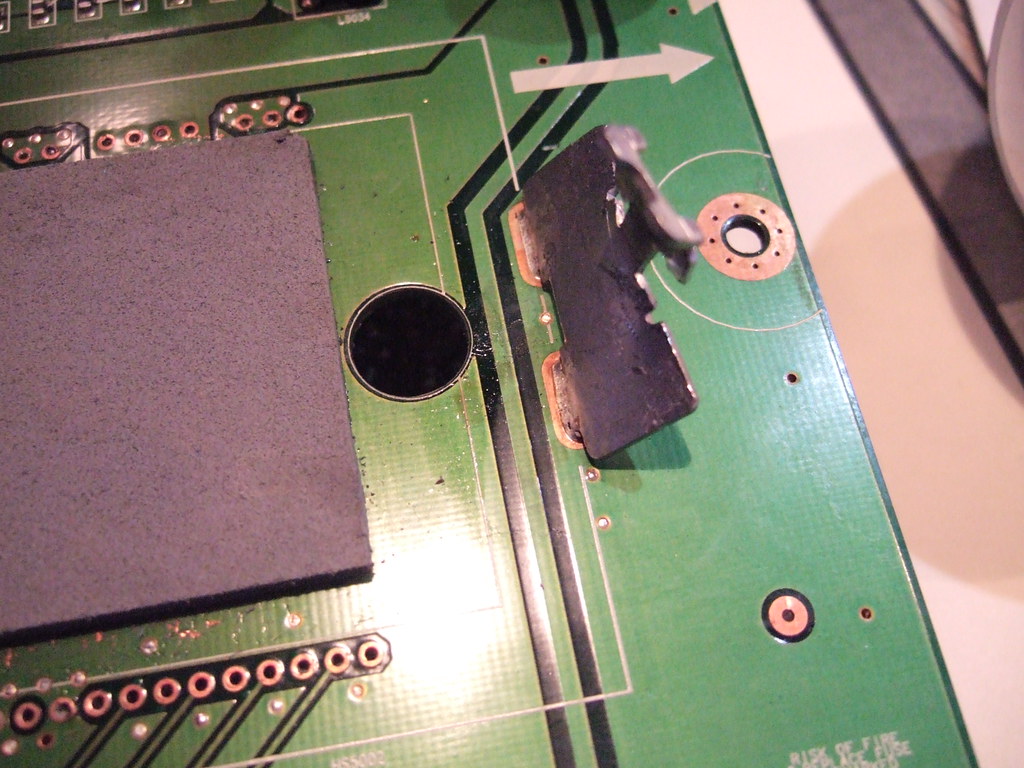 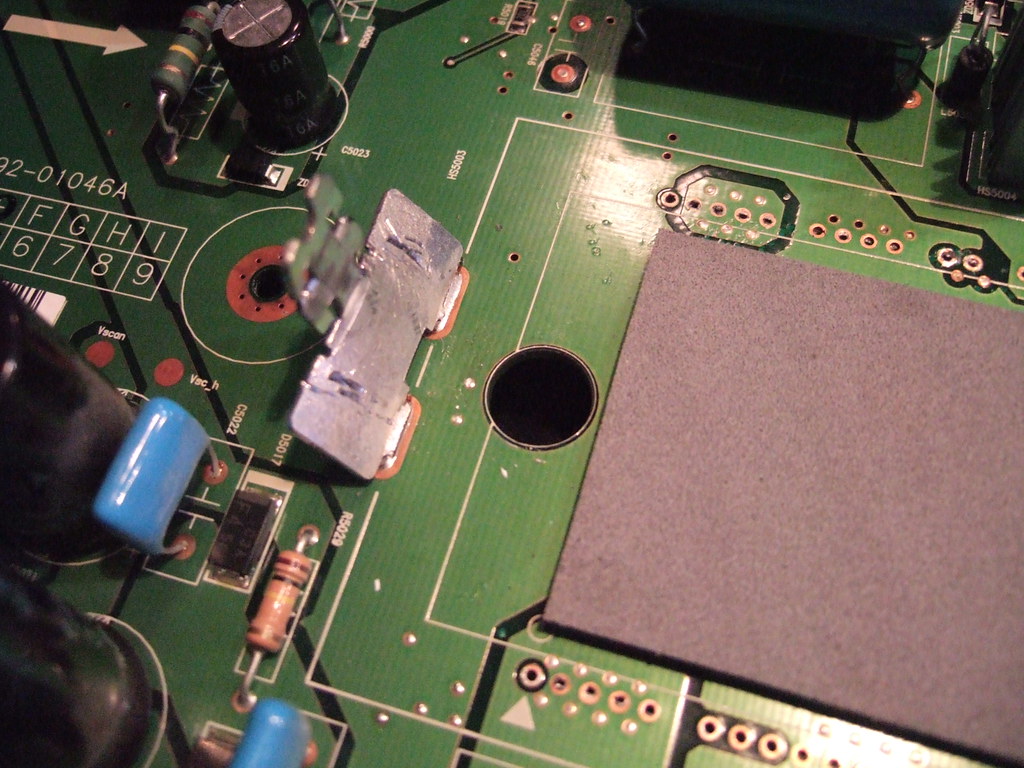 Hopefully the new IPM's go in easy. some through holes still have solder anthem and even the de soldering gun had a hard time. What I did was put the board on the pre heater set to 220c and then the heat gun on top to 260. I used a screw driver to slowly " bounce" one side of the IPM where the heat gun was hitting till the pins came out and moved down the side little by little. then I moved to the other side. the First IPM came out much easier as more solder was cleared from the holes on that attempt. lets hope I didn't damage it too bad. I think it all looks clean while looking at it under my loupe. Nashou |
|
|
|
Post by mastertech on Mar 16, 2014 19:06:15 GMT -5
It always helps to mix in some regular or low temp solder on all pins before attempting to desolder.
|
|