|
|
Post by justgreg on Feb 25, 2014 13:08:35 GMT -5
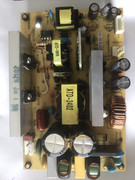
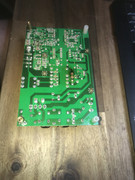
Hiya Admin. Sure please feel free to break it out. Mac and I briefly touched on doing that before I posted it. Thanks Nash! I'm seriously thinking of buying the same station you did. Great price too!! I have to find a way to justify it to the wifey. I know I know....(insert sound of whip). Also please feel free to add any comments or improvements to my admittedly over simplified procedure. I was limited in the things I could try (and I had a ton of ideas) by the fact I only have the one board. I thought I had an auction for 4 in the bag that needed repair but I got massively sniped at the last second. The dude REALLY wanted them apparently!  I'm pulling together the parts to try one of my concepts....a wide jawed 'clamp' with a PID controlled heated block that sits on top of the IC. This is NOT ideal because the heat should be applied directly to the BGA area but...I have the stuff handy and I gotta try it. <evil grin> Of course I'm not going to try it on the 708...I have an old LCD TV I've been torturing for some time now whilst learning. I can't believe it's still working after what I've done to it.  Disclaimer: To anyone that's going to attempt this repair using my process as a roadmap: Keep in mind you could gork your board by overheating the IC, or otherwise screw up the board. If you don't totally destroy it you should be aware that you're going to have to pay someone more than a 'normal' repair to fix it; or you'll have to replace it. I look at it as a bit like investing in the stock market....if you can't afford to lose it, don't do it.  Attachments:
|
|
|
|
Post by justgreg on Feb 24, 2014 17:45:17 GMT -5
Unless I just didn't see it the 5 times I checked just to make sure before posting is there a way to add a page selection option at the bottom of the threads? Wouldn't have to scroll up to get to it then. Let me know if my aging eyeballs missed it if it's there. (wouldn't be the first time!) Thanks. |
|
|
|
Post by justgreg on Feb 24, 2014 16:01:25 GMT -5
 And that's it. Allow the board to either cool without taking the surface temp down slowly or not, that's your call. I chose to cook it down slowly(ish). Reinstall the board or replace caps at this point. I had already replaced the caps and had nothing to lose by going right into the reflow. If you have a working HDMI board but want to reflow as a precaution I would reflow first and reinstall the board to make sure it still works before tackling the caps. One note about the two grey cables on top of the board; don't forget to press down on top of one half of the connector. The wires will slide right in if you get it right. You shouldn't have veins popping out on your arms (or forehead) to do this but the net is full of stories of people fighting these two connectors and breaking them. Comments and constructive criticism welcome. |
|
|
|
Post by justgreg on Feb 24, 2014 15:55:27 GMT -5
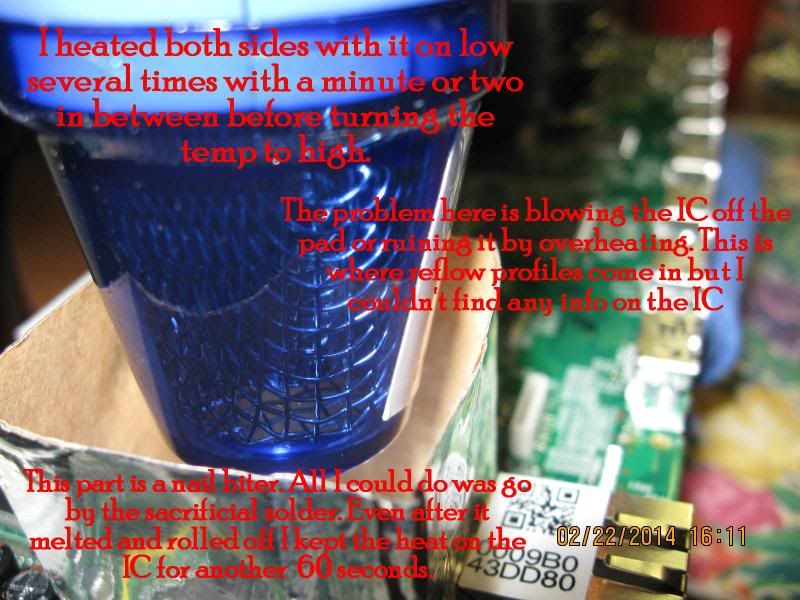 What a cocky bugger eh? I managed to get a nice clear pic while juggling everything. This was taken with the gun on high (around 650F) and inserted into the oven more than the pre-heat step. The tattle-tale solder had melted and rolled off onto the IC mask at this point. I held it on there for another 60 very long seconds. |
|
|
|
Post by justgreg on Feb 24, 2014 15:52:45 GMT -5
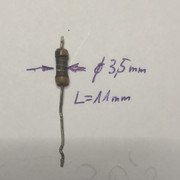
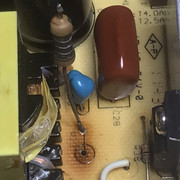
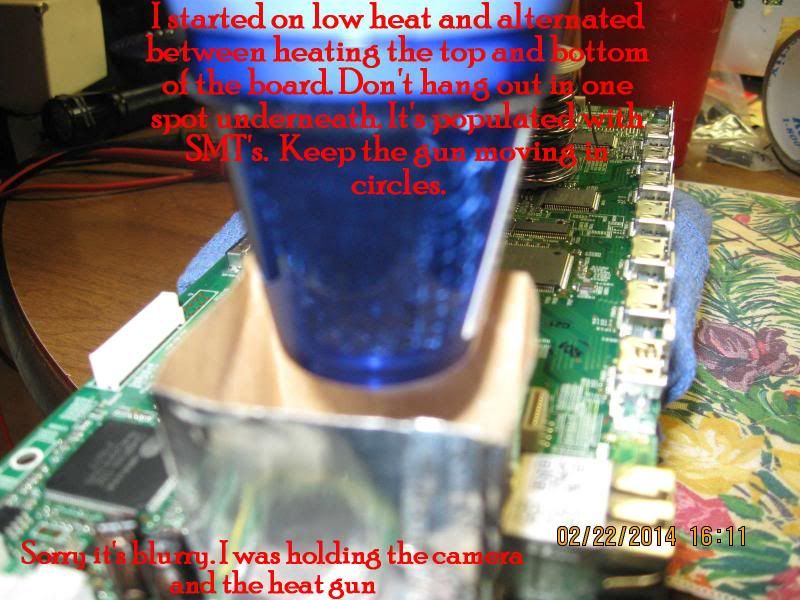 Holding the camera and the heat gun at the same time. Not recommended but you won't have to do that if you use this procedure. This step was a nail biter because I had a LOT of missing information as to how long or how much I should heat the IC. I was worried that any second I would see the IC fly off the pad. FYI I chose to use high quality low ESR radial caps for replacements of the SMD packages because this board is a known Onkyo issue and radials will allow for visual inspection. SMD's don't bulge or 'pop up' when bad. They 'can' blow up...but that's another story. |
|
|
|
Post by justgreg on Feb 24, 2014 15:49:22 GMT -5
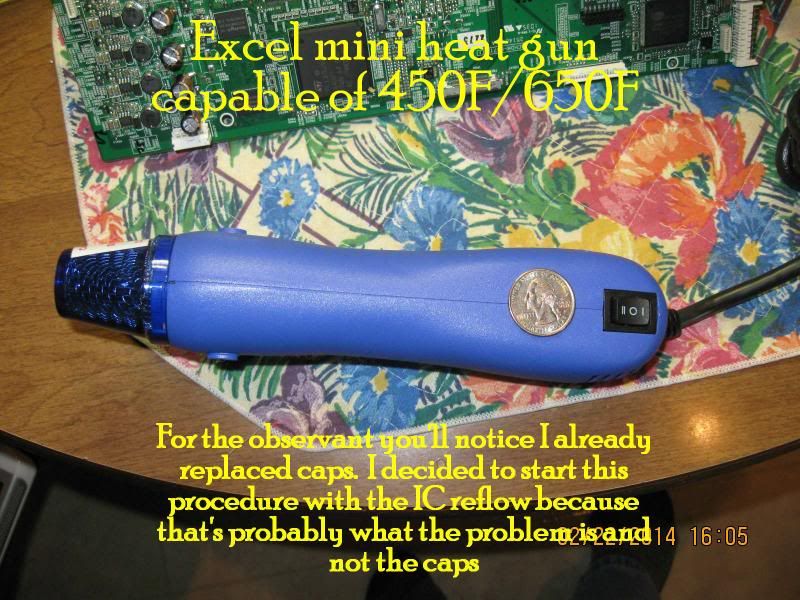 I picked this up at a local electronics distributor. They usually have crazy high prices for everything so I was pleasantly surprised to get this for $20. It's small, light, powerful and best of all, the nozzle fits inside the oven. |
|
|
|
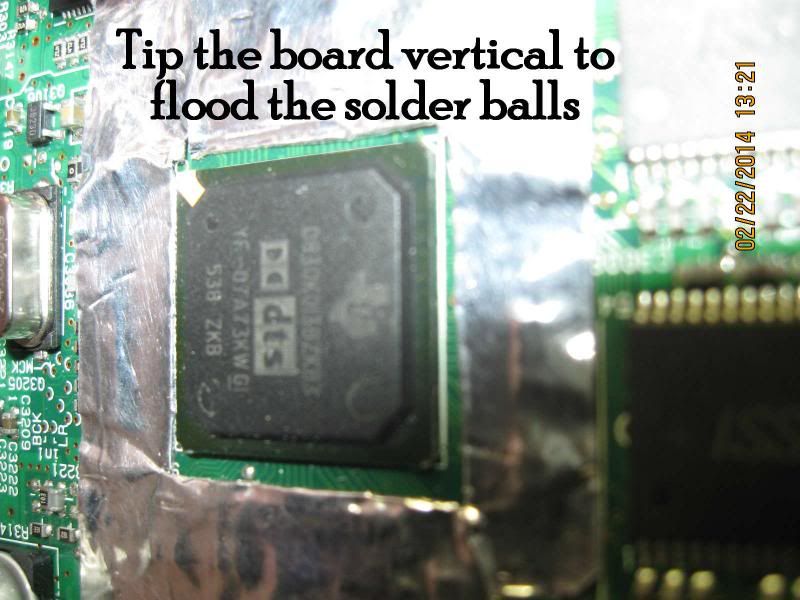
Post by justgreg on Feb 24, 2014 15:46:47 GMT -5
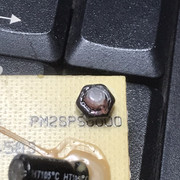
 The picture markup pretty much says it all but this pic was taken right after reflowing. I was more worried about shaking hands than bumping the board. The sides of the oven absorbed all of my shakiness thankfully. If the IC moved even a little it would have required a re-work instead of a re-flow. |
|
|
|
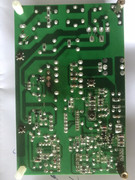
Post by justgreg on Feb 24, 2014 15:43:34 GMT -5
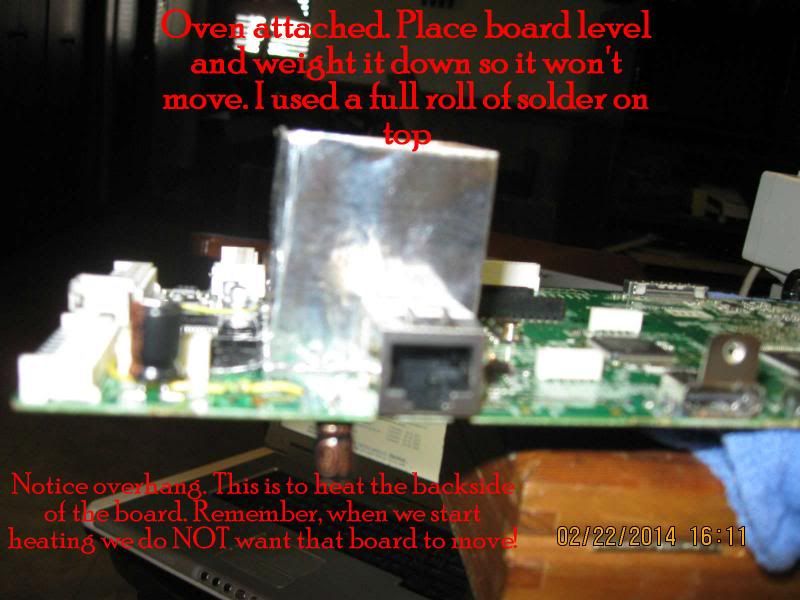 The board positioned to enable heating from both sides although the backside will only be preheated. There are a lot of SMT components under there that it won't take much heat to blow off so only use low heat and keep the gun tip about 6 inches away and constantly moving. I used a full roll of solder to hold the board down. |
|
|
|
Post by justgreg on Feb 24, 2014 15:40:21 GMT -5
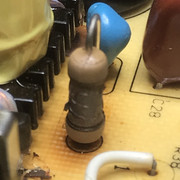
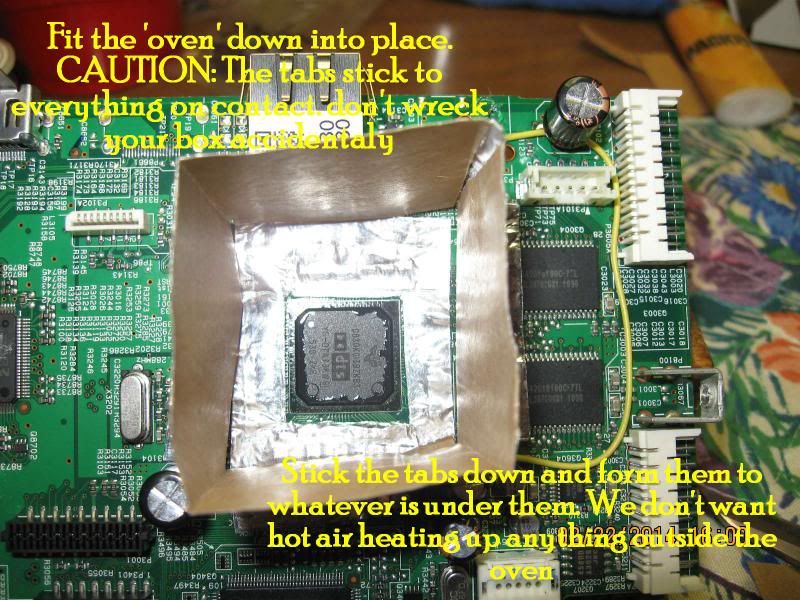 The oven installed. The flaps want to stick to everything so go slow when installing the oven. The adhesive is strong and the foil unforgiving so if not careful you'll have to make a whole new oven. Notice the yellow fly wire. That's from Part II of repairing this board. I secured the wire to the board with one spot of hot glue on the front and back of the board before installing it back in the 708. |
|
|
|
Post by justgreg on Feb 24, 2014 15:38:29 GMT -5
|
|
|
|
Post by justgreg on Feb 24, 2014 15:37:35 GMT -5
 The wick isn't secured in and slides right out. Juggling a paperclip and the pen to pour behind the IC was a pain. Buy a bottle of No Clean flux if you can and save yourself the grief. |
|
|
|
Post by justgreg on Feb 24, 2014 15:34:25 GMT -5
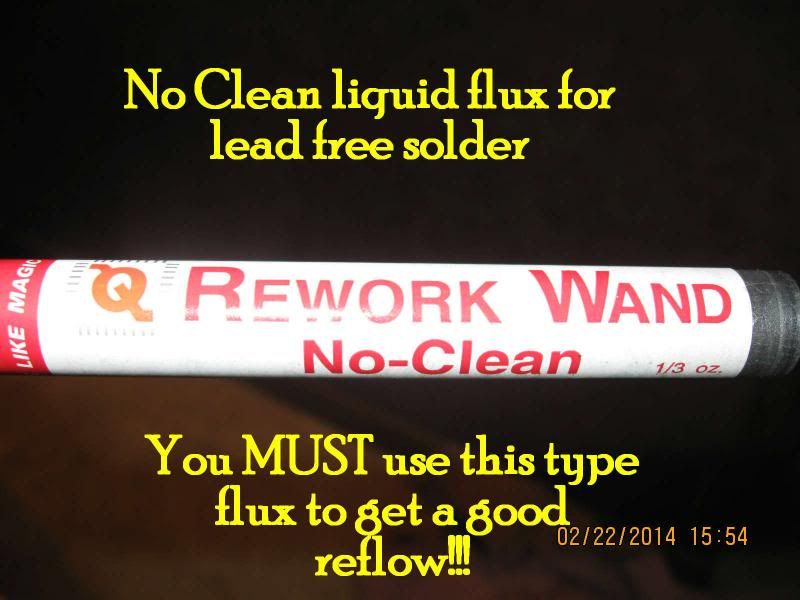 No Clean liquid flux pen I bought locally for about $6.00 A squeeze bottle would have made it easier but this is all I could find. |
|
|
|
Post by justgreg on Feb 24, 2014 15:32:16 GMT -5
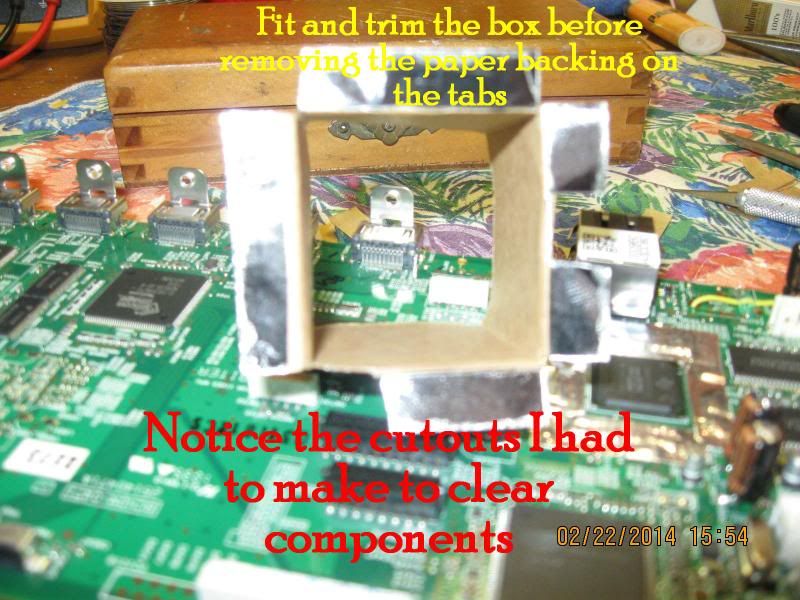 Blurry pic of the oven from the end showing the cutouts required to fit around board components. |
|
|
|
Post by justgreg on Feb 24, 2014 15:29:19 GMT -5
 Foil 'oven' dry fitted, fabricated, and ready to install. I accintally cut off one of the flaps while scoring the backing paper over the adhesive but it turns out that was for the best because there was no room to fit it up against the LAN port connector. |
|
|
|
Post by justgreg on Feb 24, 2014 15:26:54 GMT -5
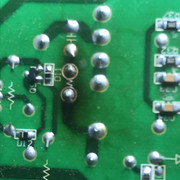
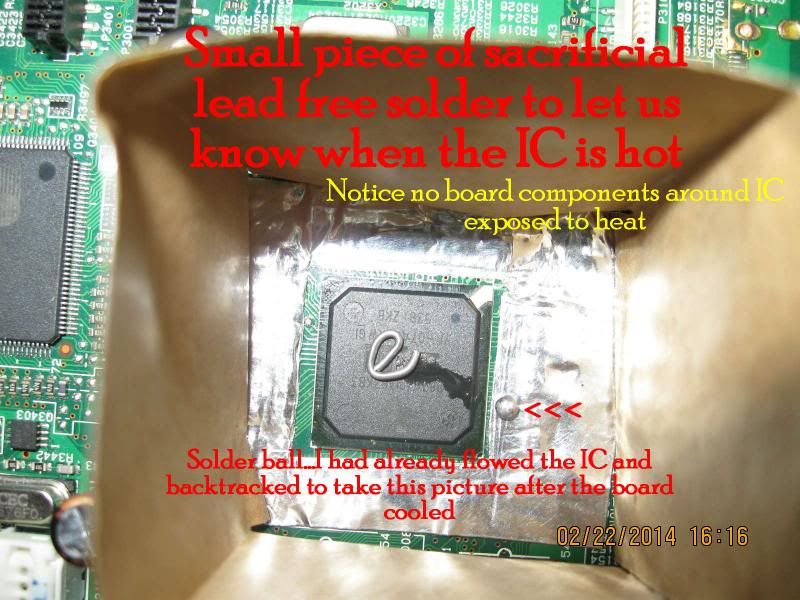
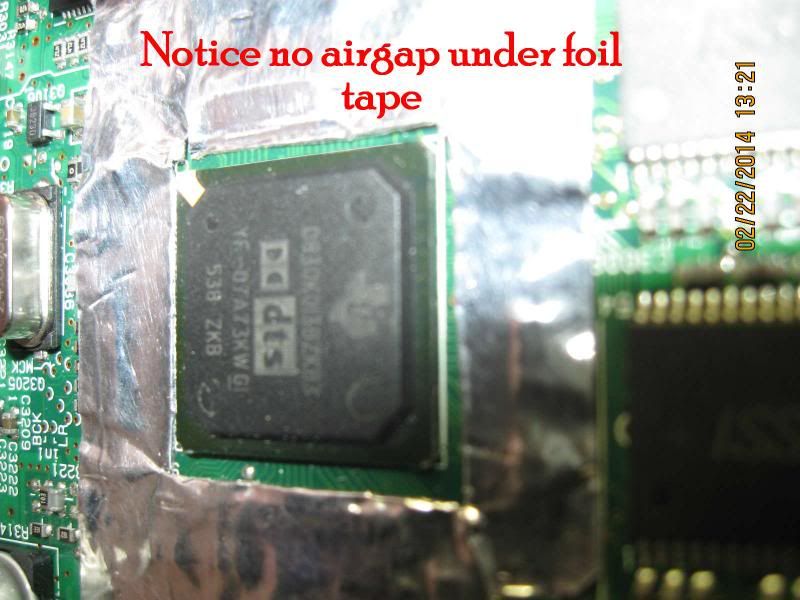 Notice no gap between the mask and the board. The heat will be forced under the IC and not out onto the board where we don't want it. |
|


 I'm pulling together the parts to try one of my concepts....a wide jawed 'clamp' with a PID controlled heated block that sits on top of the IC. This is NOT ideal because the heat should be applied directly to the BGA area but...I have the stuff handy and I gotta try it. <evil grin> Of course I'm not going to try it on the 708...I have an old LCD TV I've been torturing for some time now whilst learning. I can't believe it's still working after what I've done to it.