Post by justgreg on Feb 23, 2014 21:14:55 GMT -5
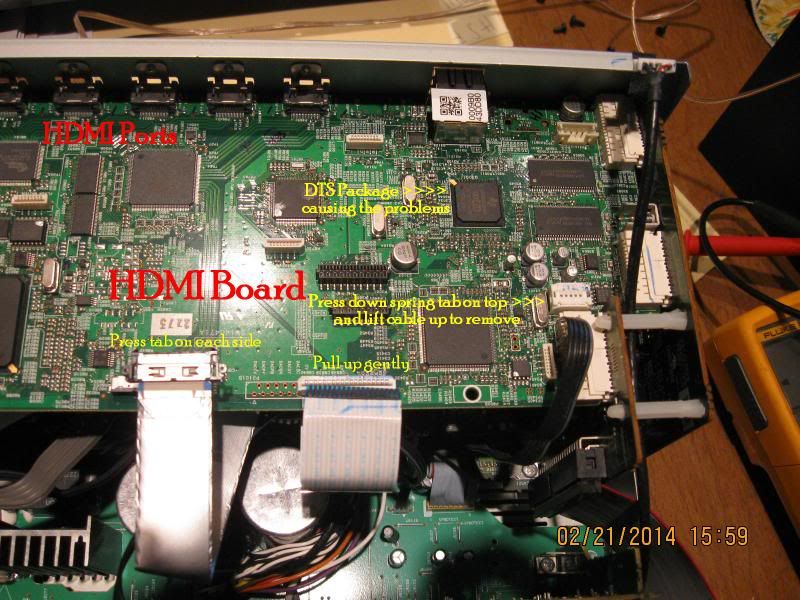
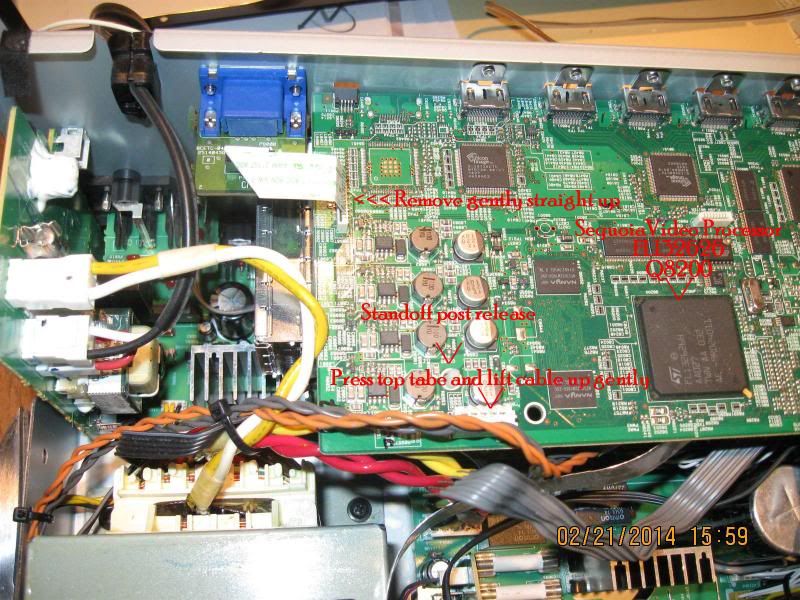
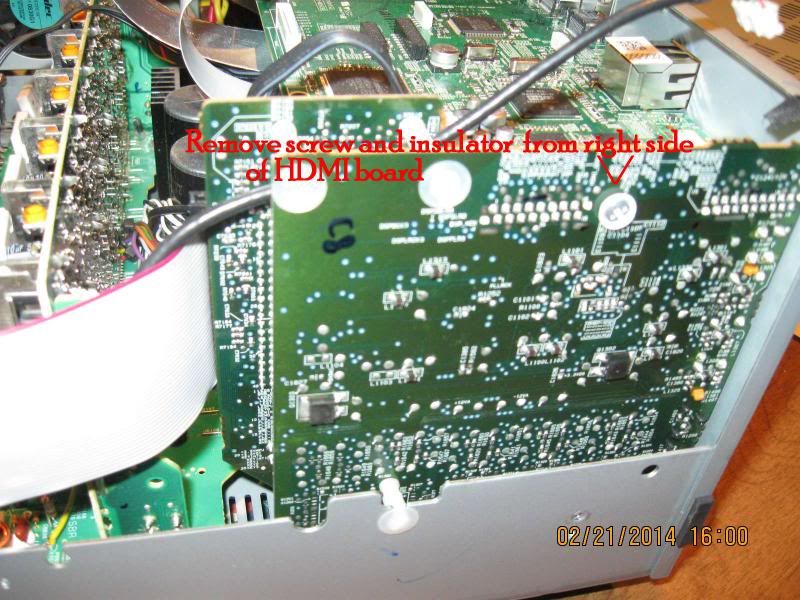
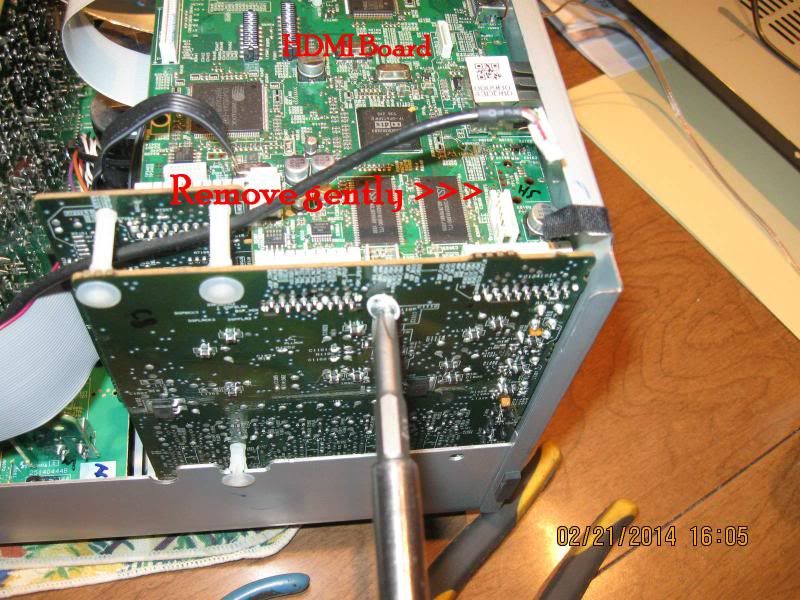
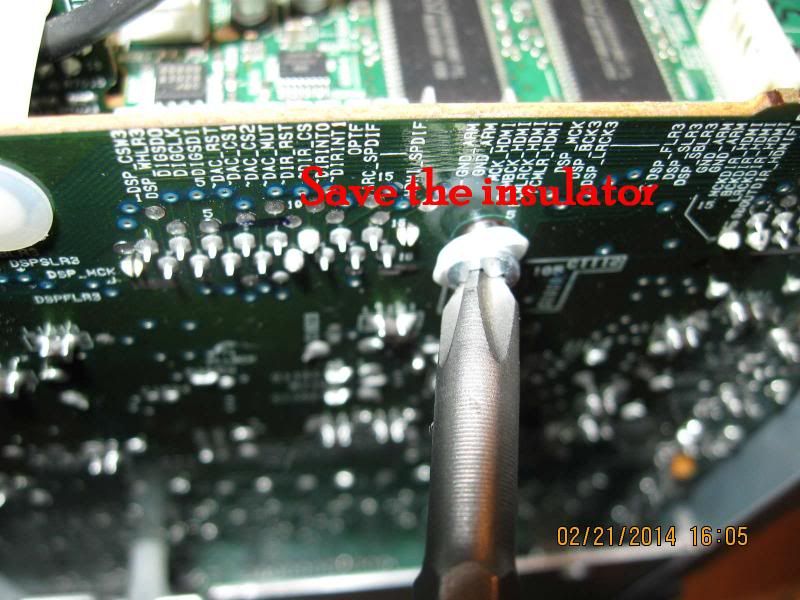
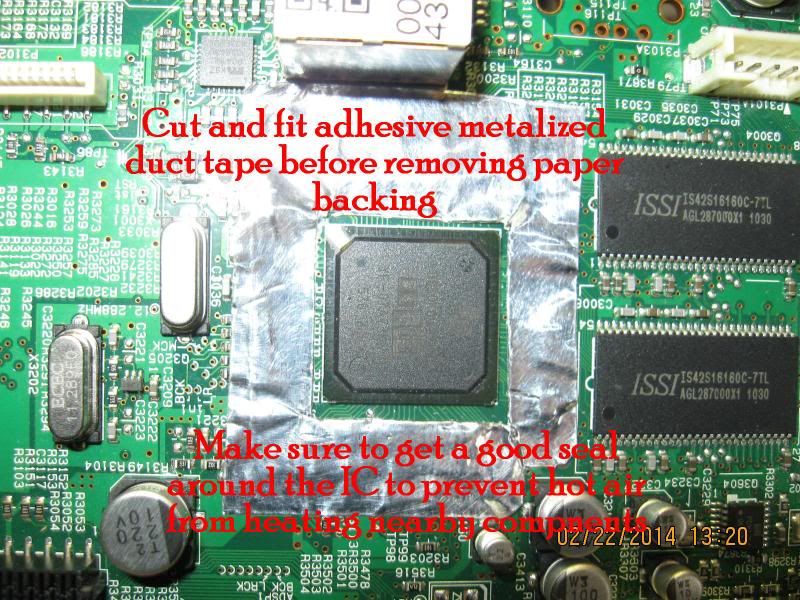
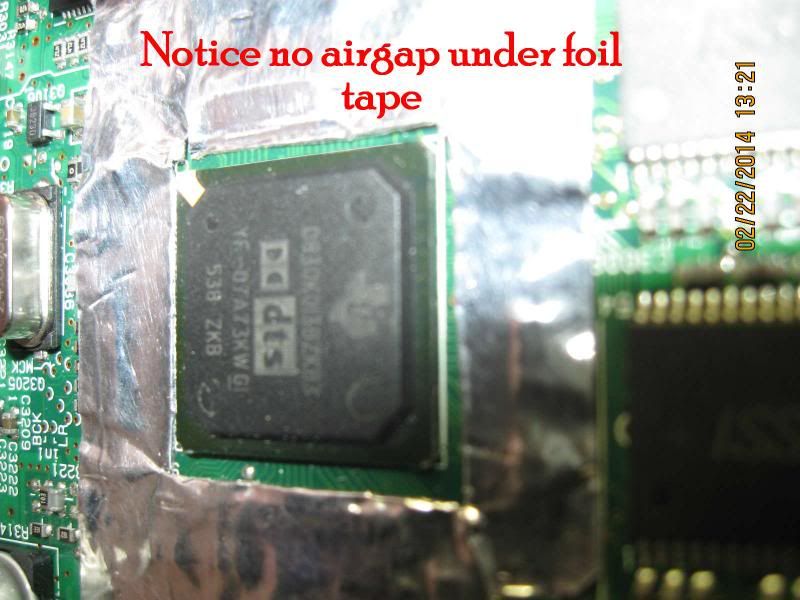
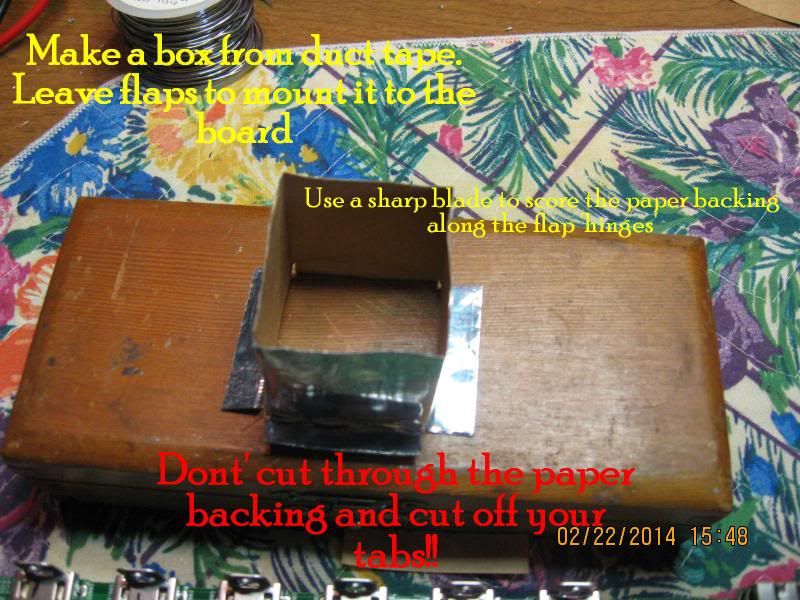
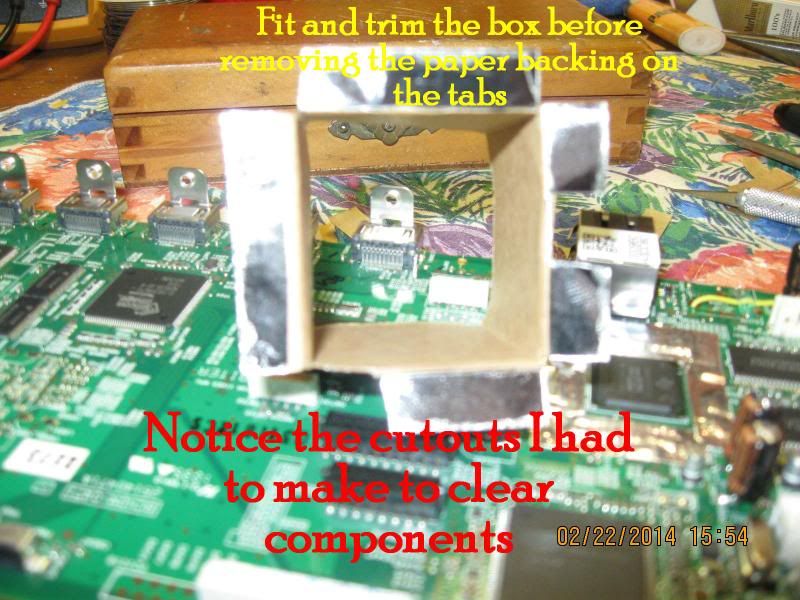
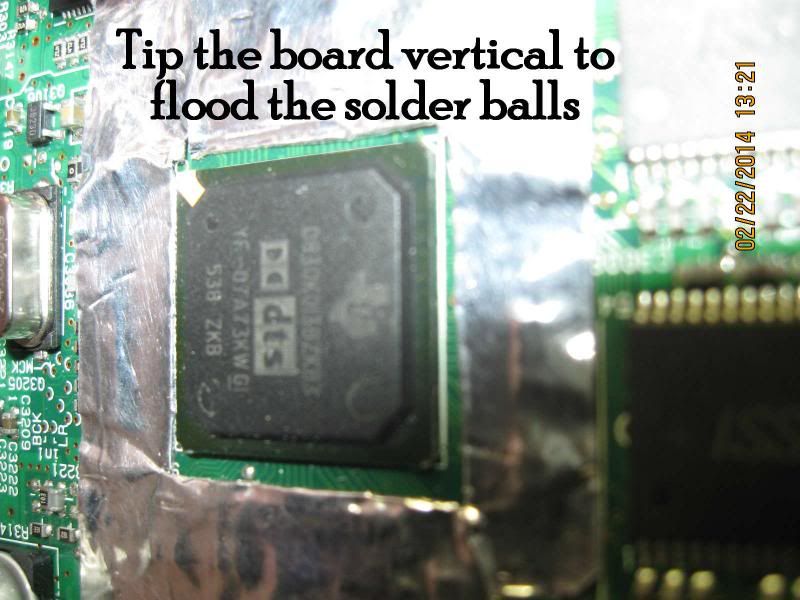
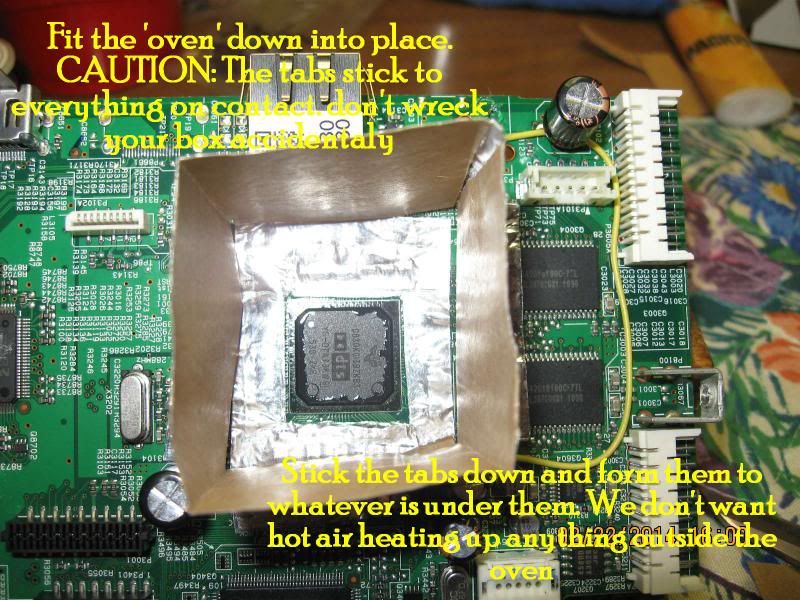
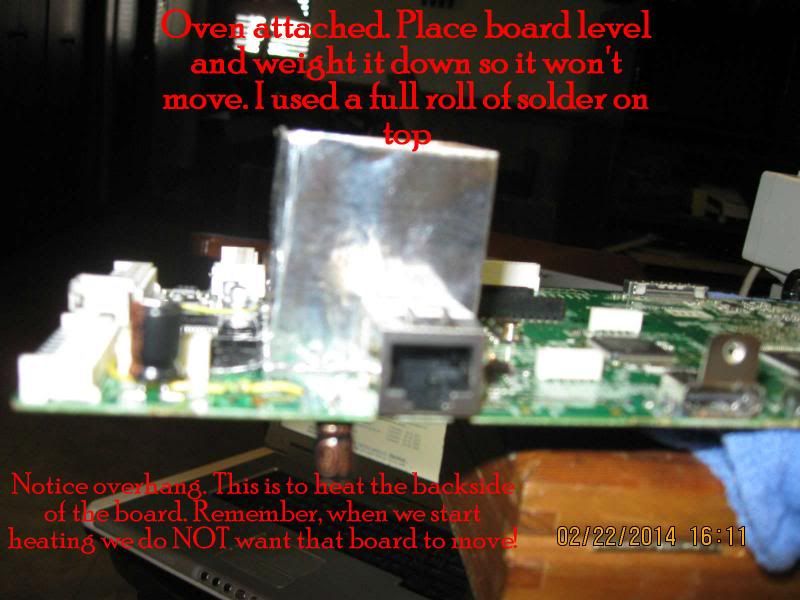
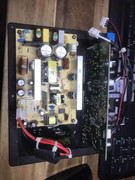
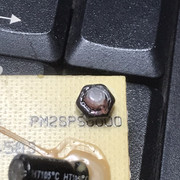
This pictedure as I call it is for reflowing the BGA IC on the TX-NR708 HDMI board, p/n BCHDM-0471 that is responsible for so many internet posts for Onkyo receivers with no sound. The IC in question is on the top side, top right corner of the board. The IC is manufactured by Texas Instruments and has been the subject of Texas Instruments internal memo's for premature aging, and ultimately the decision to halt production before they'd planned. The part number is D830K013BZB300, Q3001.
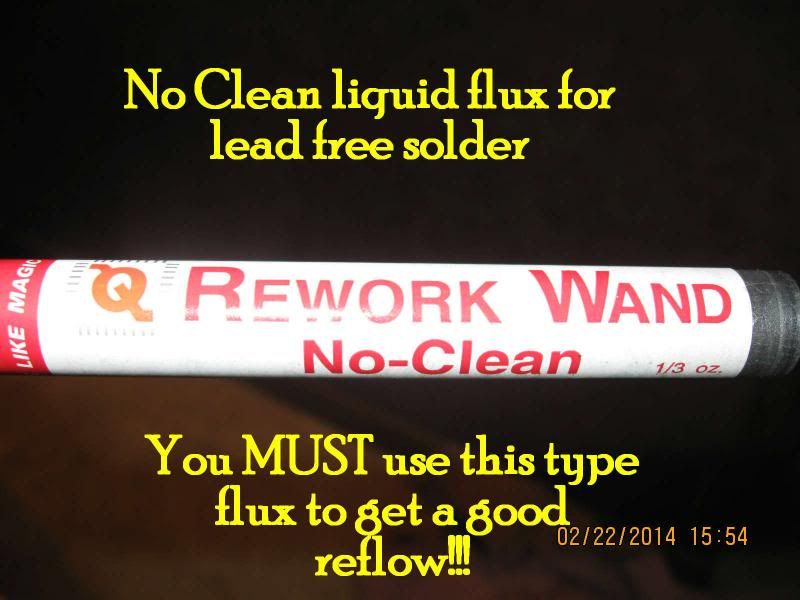
This procedure will be the same for other models, brands, or any BGA IC. Admittedly this isn't an ideal approach but for the occassional electronics hobbyist it's better than many procedures I've read on the net such as foil or towel wrapping boards and tossing them in an oven or hitting the IC mount location with an industrial heat gun designed for stripping paint.
There's a lot that goes into reflow work in general but especially when working with BGA components. Even manufacturers have a difficult time making it work; which is why so many electronic devices fail aside from crappy capacitors. Either way, it's why we have to pay to have our toys repaired or do it ourselves.
The second part of this, that I'll get to later on, will illustrate recapping the majority of the caps on the HDMI board. I didn't do the very smallest such as .47uf because they don't fail as often as the larger ones do. I did test them with an ESR meter though. Replacing caps in itself is no big deal for most moderately capable electronic repair DIY-ers, but I had double duty with this one because somebody tried to replace the caps before I got the receiver and destroyed a couple traces.
EDIT: I'm not going to post this second part as component replacement and general boardwork is covered in other threads and would be redundant.
I lay all the blame (credit) for bidding on this TX-NR708 on Mac, Nash, and others here. I'm no electronics genius by any means but the energy and excitement they demonstrated made me want to be part of the fun. I wanted to take my electronics interest to the next level and I couldn't have asked for a better environment than that of this forum. I never had any real structure to how I made repairs but with the gracious mentoring and support available here I know I'll finally be able to add structure and understanding to my repairs.
So I got the Onkyo for $46.13 plus shipping and knew going into it that it powered up but had no sound. I did some research while the auction was running and felt good about my ability to repair it so sniped it at the last second. I knew I wanted it before the auction closed so got my electronic hands on a copy of the service manual. If you want to learn, which is what I'm doing, having the service manual is critical to not just learning, but a successful repair.
For the weekend warrior or occassional electronic repair tinkerer such as myself, one thing I realized when undertaking something like this is to first be honest with yourself regarding your capabilities. That isn't to say don't do it just because you don't have any formal training but rather mentally commit to seeing it actually work when you're done. When you're done means it works, not that you got your butt handed to you so tossed it in the trash.
Make sure you have a reasonable selection of tools to do the work, or can borrow them until you get your own if you find you're serious about electronics repair as a hobby. And most importantly; safety. Most children are told or learn the hard way what electricity where you don't want it can do. ALL electronic equipment not only multiplies but stores electricity to some degree. Some more than others but regardless, take some time to learn what you can and can't do with your bare hands.
Nuff lecturing...now let's get to the fun stuff!

